Fresh bread symbolizes connection...sharing.
The baker must measure, knead and wait. The supple dough rises slowly, cresting over buttered loaf pans—but only when it is time.
Baking cultivates patience and precision, and it also encourages the art of inclusion. Loaves of bread aren’t eaten alone.
Instead they are shared with family and friends over cups of steaming coffee and tea.
Passing around a butter plate, my family first slices warm bread and then slathers salted butter on individual pieces. There is laughter and sighs and quiet moments of thankfulness. In the kitchen, Dad pours another cup of coffee. At the table, Noelle leans against Brandon’s shoulder. At our feet, the dog licks our sock-covered toes.
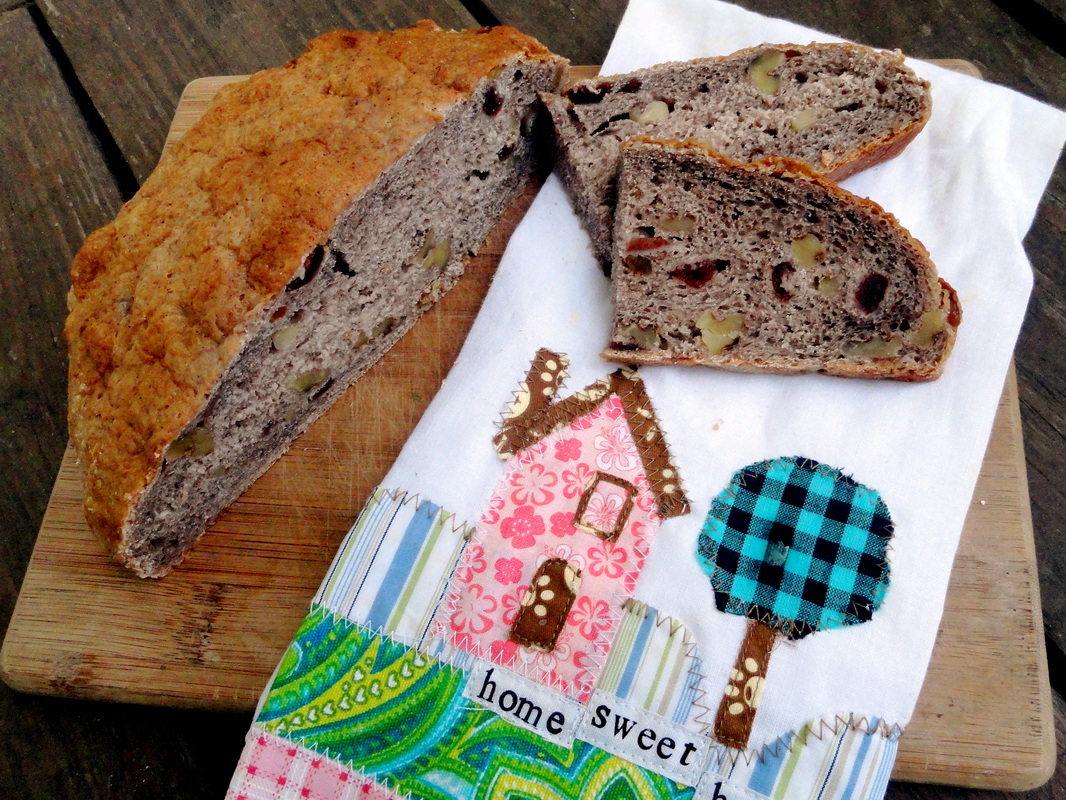
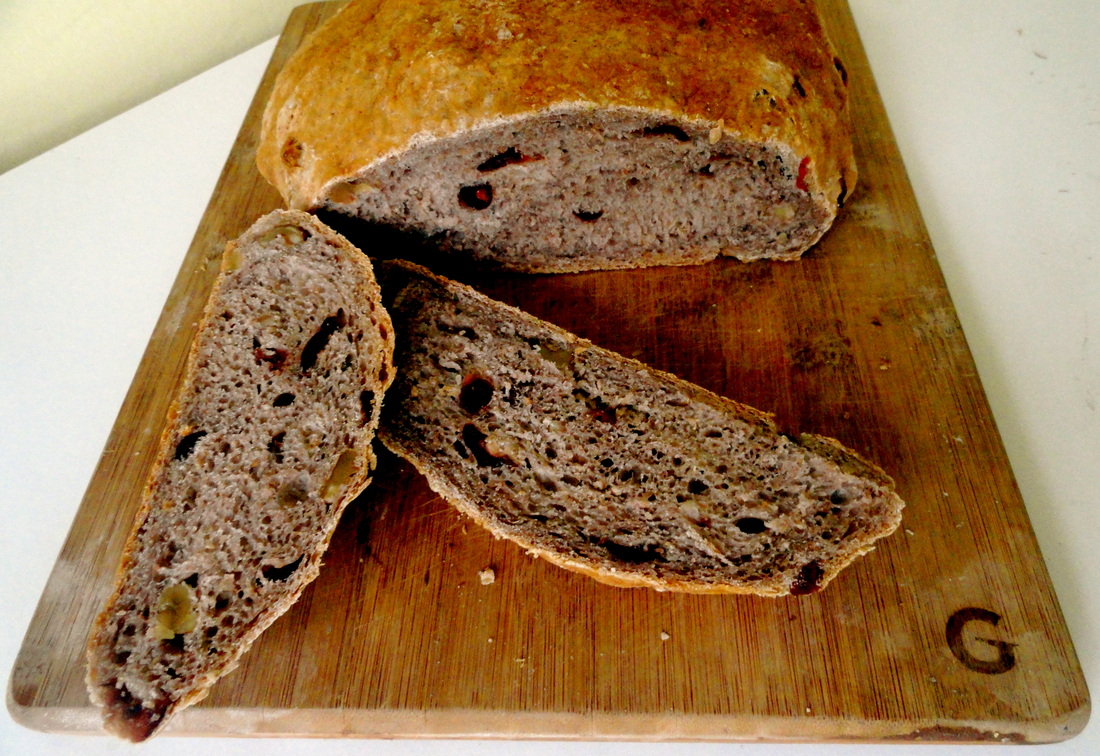
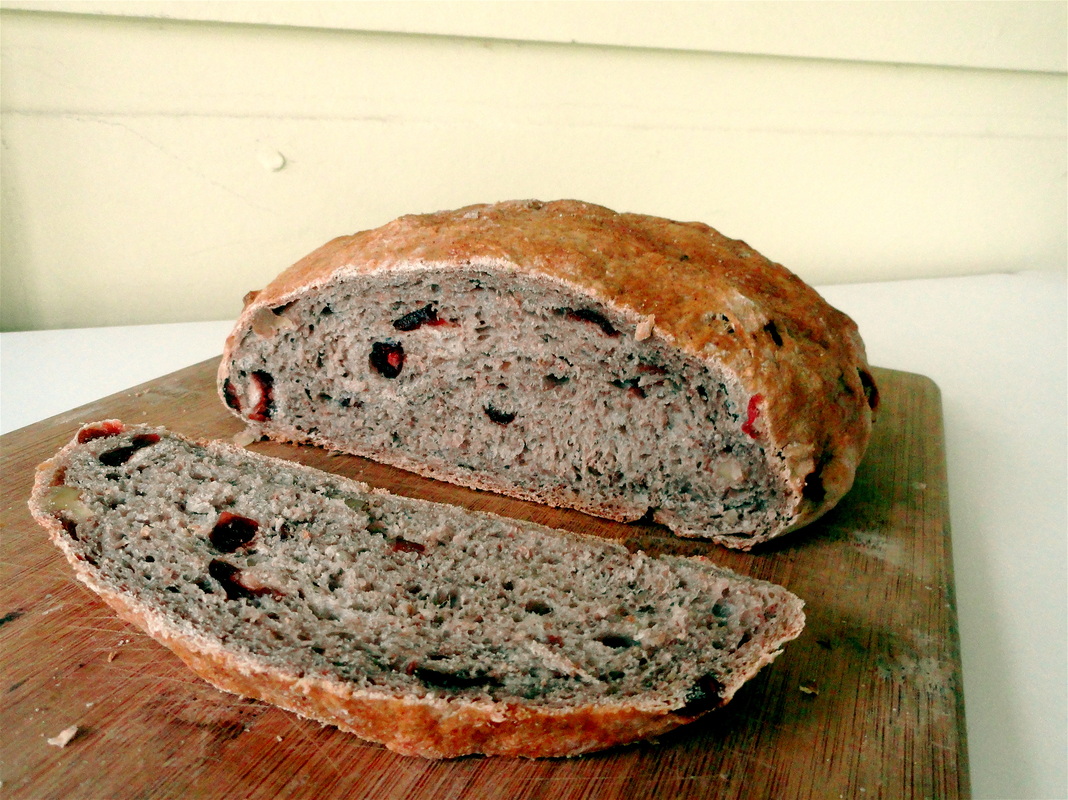
And what makes this Cranberry Walnut Bread even more delightful is the process—a very slow rise overnight…with the promise of a morning full of the smells of yeast, cinnamon and golden brown bread.
Once kneading all the ingredients together, your dough sits in the refrigerator for at least 12 hours (and up to 3 days), which allows for a gentle rise and a deepening of flavors.
On the morning of baking, remove your dough two hours before you’d like to place your loaves in the oven.
For those of you beginning-bakers, this recipe is one of the easiest yeast recipes I know. Follow the measurements, wait with anticipation, and delight your family or friends with bread meant to be shared.
PS. Thanks to those who inquired about my broken elbow. Although I have a few more weeks before it is “completely” healed, I’m out of my cast with almost full mobility. Just in time for baking season!
5 cups bread flour
½ cup whole wheat flour
1 ½ cups lukewarm water (95 degrees)
¾ cup lukewarm milk (95 degrees, any kind, I use whole)
1 ½ TBSP instant yeast
2 teaspoons salt
¼ cup honey
1 cup dried cranberries
1 cup chopped walnuts, lightly toasted
1. In the bowl of your standing mixer, combine all ingredients (if possible, test the temperature of your liquids, precision is helpful in producing a successful loaf). Using a large wooden spoon or the paddle attachment, stir the dough for 2-3 minutes, or until fully hydrated. Allow to sit for 5 minutes.
2. Proceed to knead the dough with your bread hook or by hand for 4-5 minutes. Your dough should be sticky, but it should still form into a ball. If necessary, add additional flour until dough clears sides of the bowl.
3. Move dough to a lightly floured surface and knead by hand for an additional 2-3 minutes. Form dough into a smooth ball and place in a large greased bowl. Cover with plastic wrap and refrigerate immediately. Allow dough to sit in refrigerator for at least 10 hours.
4. On baking day, remove dough from refrigerator two hours before you would like to bake it. Immediately form dough into desired shape (2 regular loaf pans, 24 rolls, or 2 free-standing boules). If using loaf pans, be sure to grease before placing dough in pan. If forming boules or rolls, line two cookie sheets with parchment paper. Brush loaves or rolls lightly with water and dust with cinnamon-sugar (if desired).
5. Allow dough to rise for 1 ½ to 2 hours, or until 1 ½ times larger than original size. During the last 20 minutes of rising, preheat your oven to 350 degrees.
6. Bake your loaves until light brown and an instant read thermometer registers 190 degrees Fahrenheit when inserted into the middle of the loaves. Remove from pans and allow to cool for 30-40 minutes before slicing).
Always,
Monet
Anecdotes and Apple Cores


 RSS Feed

